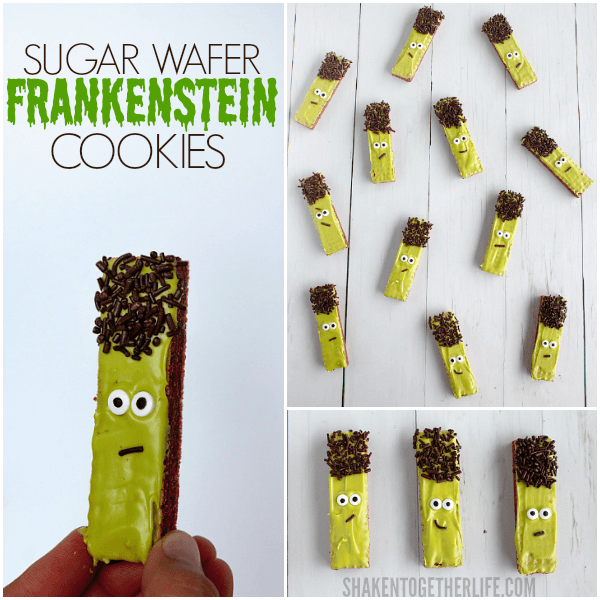
No Bake Sugar Wafer Frankenstein Cookies for Halloween
This post may contain affiliate links. If you purchase through links on our site, we may earn a commission.
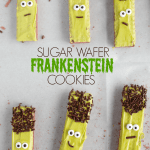
Our no-bake Sugar Wafer Frankenstein Cookies are so easy, it’s scary! They are adorable and pretty much the perfect Halloween treat for any party. Bonus: they are so simple that the kiddos can help make them!
Want to save this recipe?
Enter your email & I’ll send it to your inbox. Plus, get great new recipes from me every week!
So, after I transformed vanilla sugar wafer cookies into back to school pencil cookies, I started brainstorming other fun ways to decorate my favorite crunchy little cookies. So rest assured, this is not the last time you will see sugar wafer cookies (or creme wafer cookies) here at Shaken Together!
Because ya’ll … did you see those quirky little faces?! Can’t handle the cuteness of these green guys …
No Bake Sugar Wafer Frankenstein Cookies
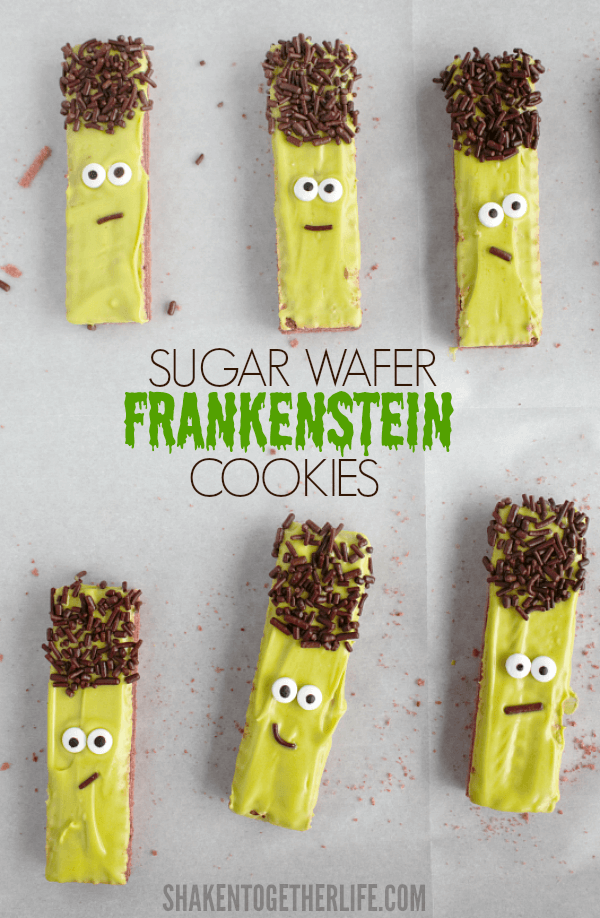
These are SO easy! Even easier than my pencil cookies. Just melt, decorate and let them set. That’s it!! So, put on The Monster Mash, grab a Vampire Float and make some no bake Sugar Wafer Frankenstein Cookies!
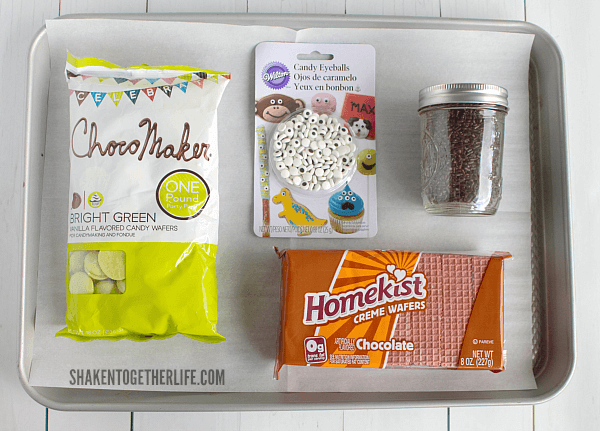
Frankenstein Cookie Ingredients
Here are the handful of supplies you will need:
- Baking Sheet – this is my favorite baking sheet
- Parchment Paper – these cookie baking sheets are THE BEST!!
- Green Candy melts
- Mini Candy Eye Balls – here are a few choices if you can’t find them in your local store
- Chocolate Jimmies
- Chocolate Sugar Wafers (Creme Wafers Cookies)
**This supply list contains affiliate links, meaning that if you make a purchase after clicking through, Shaken Together may receive a small commission at no extra cost to you. Thanks for helping to support this site!
How to Make Frankenstein Cookies
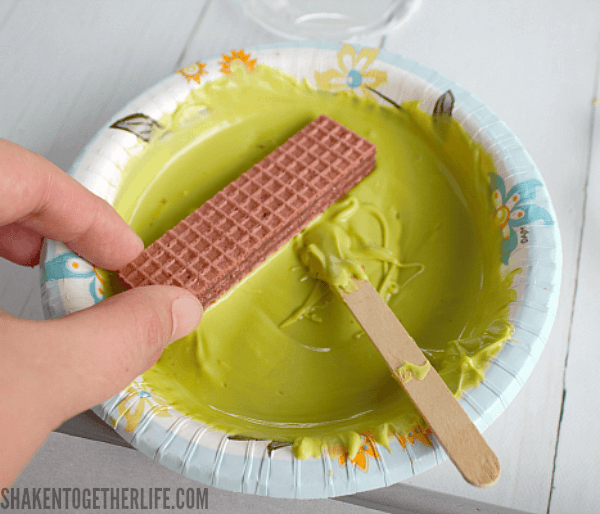
Once the candy melts are melted, dip your cookie. I used a popsicle stick to scrape off any excess and smooth out the chocolate if necessary.
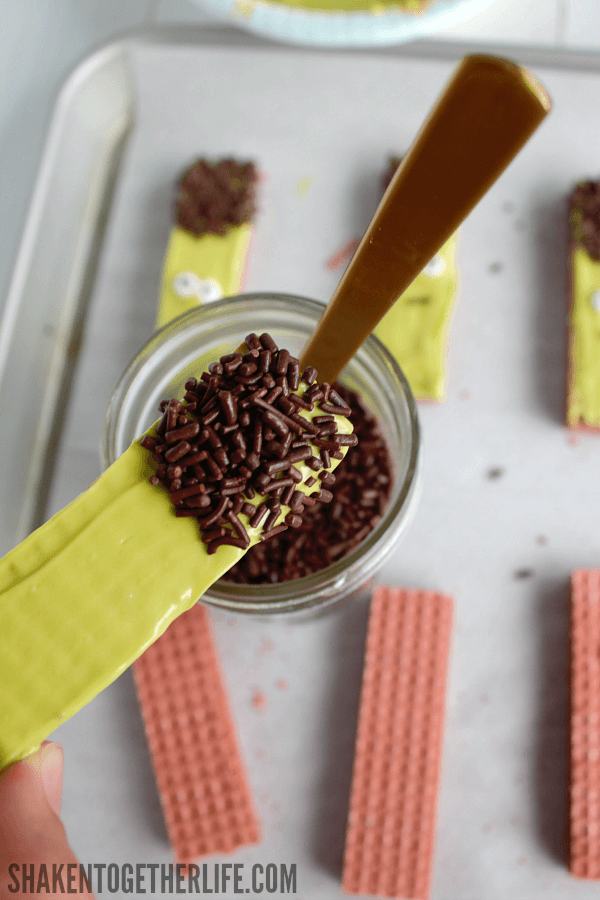
Then, spoon chocolate jimmies over the top 1/3 of each cookie for Frankenstein’s hair.
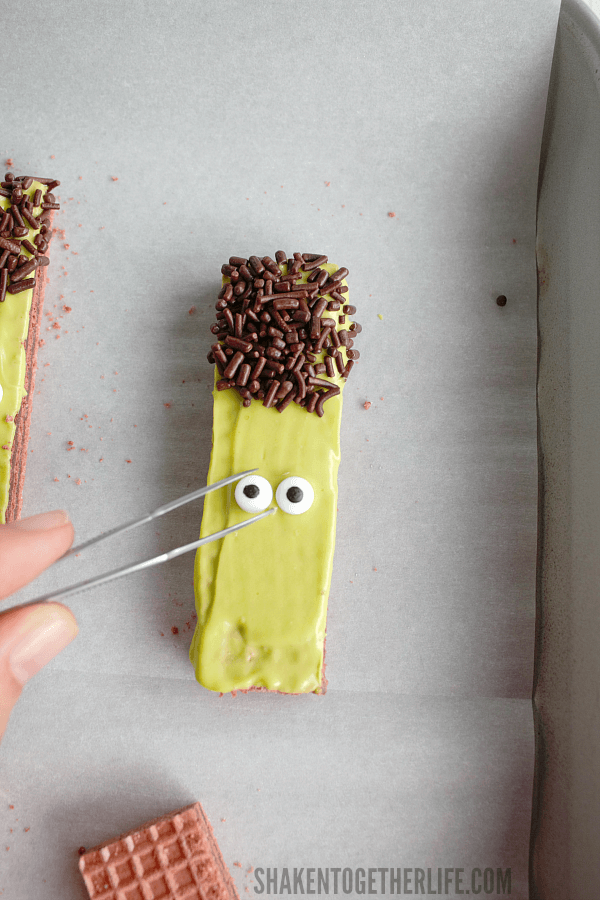
Use a pair of food safe tweezers to place two eyeballs.
Finally, add a chocolate jimmie for the mouth.
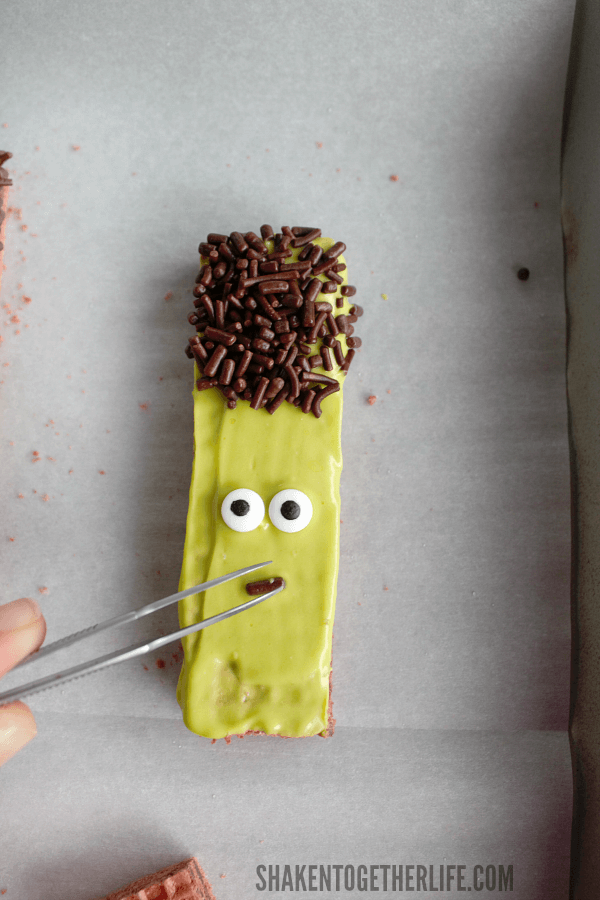
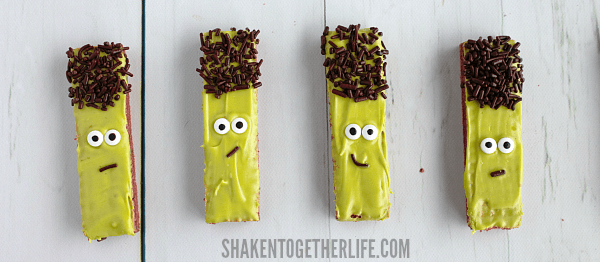
This is where each Sugar Wafer Frankenstein Cookie comes to life …
It’s Alive!!!
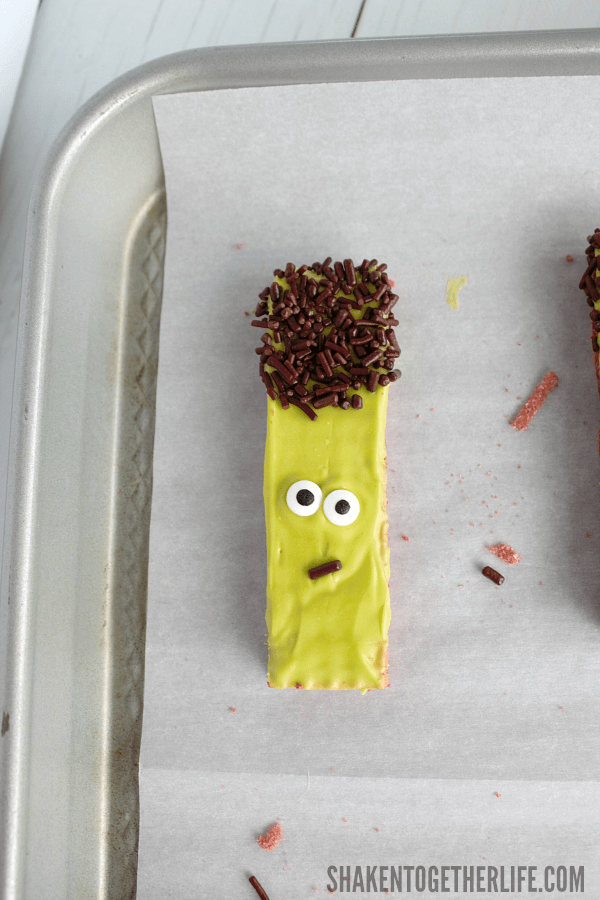
I love the different expressions you can give each little Frankenstein depending on the shape and tilt of the sprinkles!
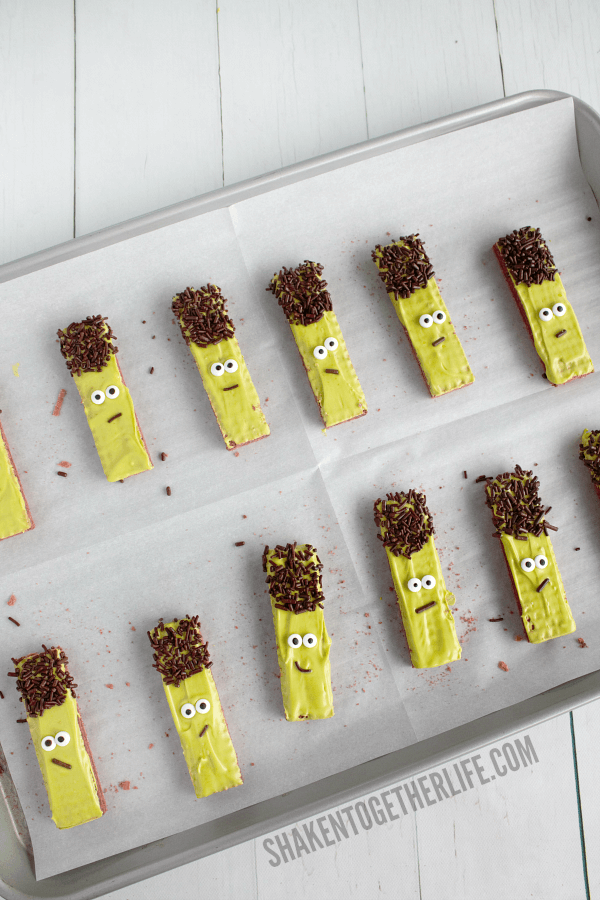
Allow the cookies to set up before handling. Since FL is so hot and humid, I normally pop chocolate dipped sweets in the fridge to chill and speed up the setting process. But I have learned NOT to do that with any treats using candy eyeballs. The black food coloring will get damp and bleed/run, ruining all of your hard work.
And these cute little monsters are way too much fun to have watery, running eyes!
More Spookilicious Halloween Treats & Sweets perfect for Halloween parties:
- Vampire Floats
- Witches Brew Cupcakes
- Zombie Nachos – Halloween Dessert Nachos
- Berry Scary Halloween Parfaits
No Bake Frankenstein Cookies for Halloween
- Total Time: 10 minutes
- Yield: 24 1x
Description
Our no-bake Sugar Wafer Frankenstein Cookies are so easy, it’s scary! They are adorable and pretty much the perfect Halloween treat for any party. Bonus: they are so simple that the kiddos can help make them!
Ingredients
- 24 Chocolate Sugar Wafer (Creme Wafer Cookies)
- 12 ounce package green candy melts
- Chocolate jimmies sprinkles
- Candy Eye Balls
Instructions
- Prepare a baking sheet with parchment paper.
- Melt candy melts according to package directions.
- Dip the front/face of cookie in green melted chocolate and smooth off excess.
- Spoon chocolate jimmies over the top of each cookie for hair.
- Place cooking on baking sheet and add candy eyes and one jimmie for a mouth.
- Allow cookies to set up before handling.
- Don’t put cookies in the refrigerator to set or the black food coloring on the eyes will weep and run.
Notes
- Nutritional information is per cookie
- Prep Time: 10 minutes
- Category: dessert
- Method: none
- Cuisine: American
Nutrition
- Serving Size: 1 cookie
- Calories: 110
- Sugar: 12.3 g
- Sodium: 9.2 mg
- Fat: 5.4 g
- Carbohydrates: 3.9 g
- Protein: 0.2 g
- Cholesterol: 0 mg
This blog post was originally published September 2016 and updated October 2019 with additional information.


These are soo cute that I can hardly stand it- OMG I love them! Pinned them from main feed on Pinterest and just had to stop by and comment 🙂
Terri – I really appreciate you stopping by and leaving a sweet comment! I think they turned out pretty cute and I love all their different expressions 🙂
Do you have any idea how long these last? How much ahead of Halloween can I make these? I want to make some for seniors in our meals program but am too busy 3 days ahead of it since we are feeding 80. I have soup to make, a lot of prep work, etc. If I made these 5 days ahead would they get soggy or anything?
I have not tried making them that for in advance Jayne but I do not think they would go stale or soggy because it’s just a candy coating. To be safe you may want to try a test batch ahead of time but I think they would be fine stored in an airtight container.
Great and cute idea.