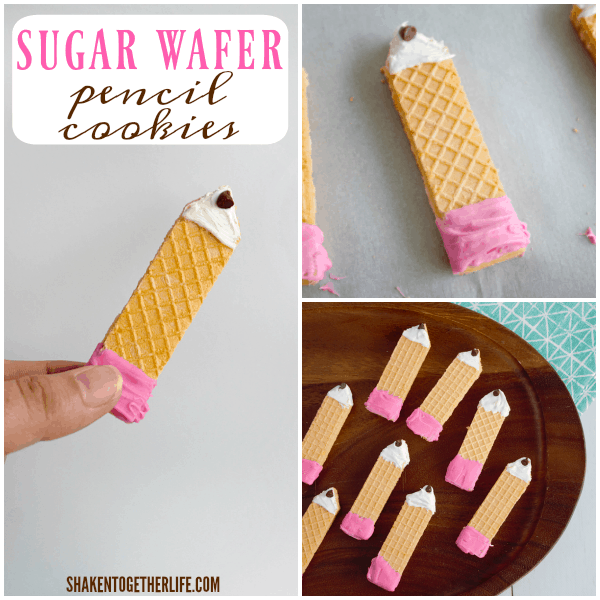
Back to School Sugar Wafer Pencil Cookies
This post may contain affiliate links. See our Privacy Policy for details.

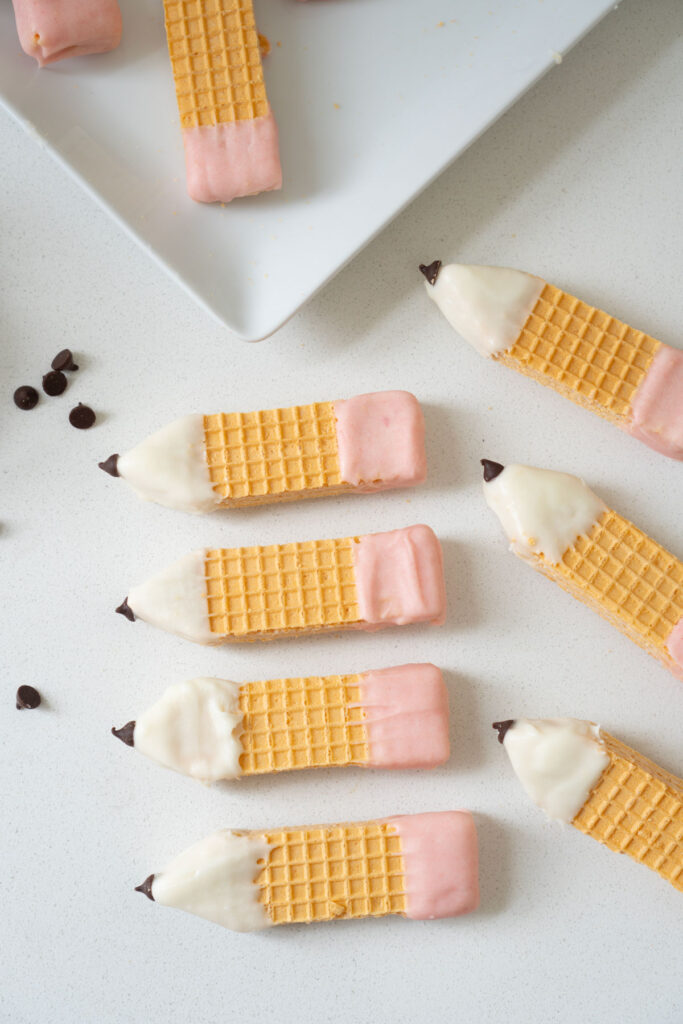
With just 4 simple ingredients, our Sugar Wafer Pencil Cookies are a deliciously easy way to say hello to a new school year! These no-bake treats will definitely move you to the head of the class when it comes to celebrating back to school!
Want to save this recipe?
Enter your email & I’ll send it to your inbox. Plus, get great new recipes from me every week!
Anybody else l-o-v-e sugar wafers? All those crisp-ety cookie and hurt-your-teeth sweet cream layers … come to momma! I really don’t buy them at the store because it is so easy to eat ten one too many. But darn if I didn’t have to buy a package or two to make these super cute, super simple no-bake back to school treats 😉
Ingredients
- sugar wafer cookies
- mini chocolate chips
- white candy melts
- red food coloring or pink candy melts
Supplies
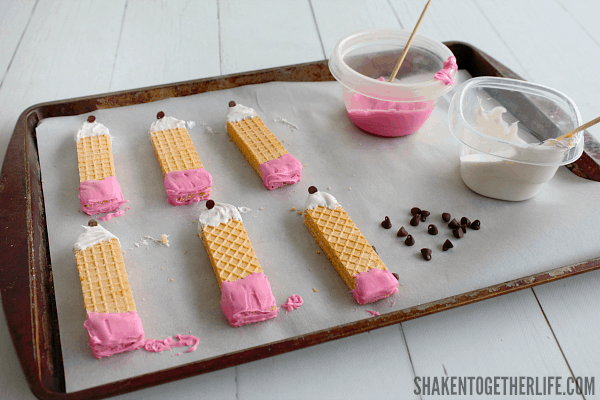
As I do with any dipped treat, I like to set up a dipping station.
- baking sheet or cutting board
- parchment Paper (a non-stick silicon baking mat would also work)
- toothpick, skewer, or popsicle stick for stirring and smoothing dipping chocolate as needed.
Step by step (with video)
Line a baking sheet with parchment paper and prep containers of candy melts and chocolate chips within easy reach. It can get messy and drippy but that parchment paper makes clean up so much easier!
Once your dipping station is ready to go, the next step for these Sugar Wafer Pencil Cookies is to create the pencil shape. With a sharp knife, gently cut one end of each wafer cookie into a point.
Use a very sharp knife for trimming the cookie into the pencil shape, a dull knife tends to crush the cookie rather than create the defined edge of the pencil tip shape. Brush or blow off any crumbs that may result from cutting before dipping.
Melt the white candy melts according to package instructions, then dip to cover the pointed end of the cookie. Use a knife, toothpick, or popsicle stick to help you smooth the candy after dipping if necessary.
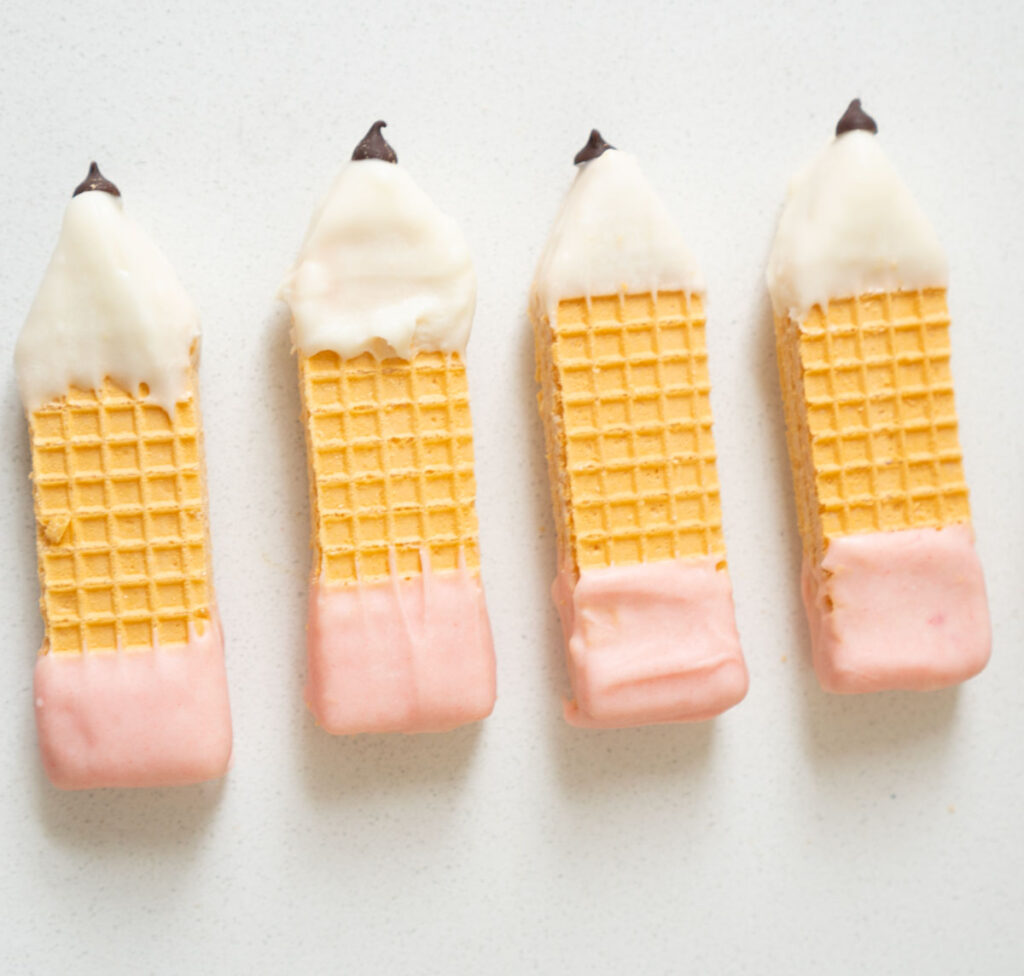
Immediately after dipping top with the mini chocolate chip to form the “lead” of the pencil.
To create the pencil eraser, dip the opposite end in the pink candy melts.
Let the candy melts harden all the way before handling the cookies, place in the refrigerator to quicken the hardening process if needed.

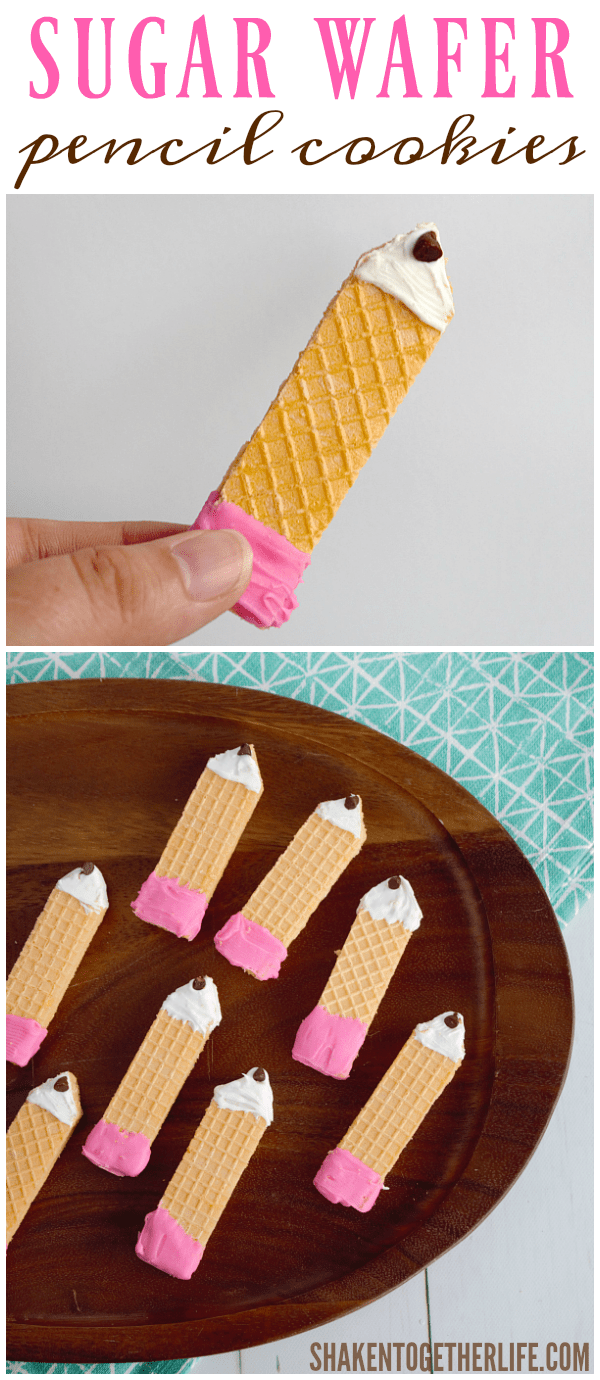
Could these be any cuter?!
If my boys were younger, I would tuck a few of these Sugar Wafer Pencil Cookies in their lunch boxes or have them waiting as after school snack on the first day of school.
For now, I’ll have to settle for almost-man hands reaching in to grab them as soon as I was done taking pictures. I guess it’s not too bad having a food blogger for a mom 😉
Storage
Store cookies in an airtight container at room temperature or in the refrigerator for up to 4 days.
If you try this recipe please comment and give it a 5-star rating below, I love hearing from you!
If you liked this recipe, you’ll love my free 5-Ingredient Dinner Challenge.
I’ll send you super simple meals that use just five ingredients and come together fast — perfect for busy weeknights when you don’t want to overthink dinner.
Sugar Wafer Pencil Cookies
- Total Time: 15 minutes
- Yield: 20 cookies 1x
Description
With just 4 simple ingredients, our Sugar Wafer Pencil Cookies are a deliciously easy way to say hello to a new school year! These no-bake treats will definitely move you to the head of the class when it comes to celebrating back to school!
Ingredients
- 20 sugar wafer cookies
- 10-ounce bag white chocolate melting wafers
- red gel food coloring
- 20 mini chocolate chips
Instructions
- Set up a work station with containers for half of the white melting chocolate wafers and the other half for the melting chocolate to be dyed pink. Have mini chocolate chips within easy reach. Have a plate or tray nearby to set the cookies as the chocolate hardens, as well as toothpicks, skewers, or popsicle sticks to help you stir the chocolate and smooth it out after dipping if needed.
- Use a sharp knife to trim one end of each sugar wafer cookie into a triangle for the tip of the pencil. Brush away crumbs as needed.
- Melt the white melting chocolate wafers according to package directions. Stir well.
- Dip the pointed end of each cookie “pencil” into the white chocolate. Tap off any excess then top with a mini chocolate chip at the point. Set aside to harden.
- Once all cookies are dipped and hardened, melt the other half of the wafers and add the red food coloring drop by drop, stirring well, until it is the depth of pink you like for the eraser.
- Dip the opposite end of the cookie into the pink chocolate, tap off excess, and set aside to harden.
- Allow chocolate to harden completely before handling. Refrigerate to quicken the process if needed.
- Prep Time: 15 minutes
- Category: dessert
- Method: none
- Cuisine: American
Nutrition
- Serving Size:
- Calories: 129
- Sugar: 12.7 g
- Sodium: 23.8 mg
- Fat: 6.9 g
- Carbohydrates: 16 g
- Fiber: 0.2 g
- Protein: 1.2 g
- Cholesterol: 2.7 mg


So very clever are the Sugar Wafer Pencil cookies! How fun to make a batch and set them on a tray for the teachers in the lounge to welcome them back! Thanks!
So clever and adorable… LOVE IT!
What an adorable back to school idea!
I’m the Editor of Fun Family Crafts and wanted to let you know that we have featured your adorable (and tasty) project! You can see it here:
http://funfamilycrafts.com/sugar-wafer-pencil-cookies/
If you have other kid-friendly craft tutorials, we’d love for you to submit them. If you would like to display a featured button on your site, you can get one from the right side bar of your post above. Thanks for a great project idea!
there is no instruction on making the point of the pencil.
It is just at the end, you add a mini chocolate chip to the tip.
I tried the pencil cookies and they were great! I was able to dip them in the candy melt and they turned out fine. I made 100 of them for a writing celebration at school and it only took me about an hour from start to finish. Next time I will know how to make them better and faster! Thanks so much for your post – these turned out so good!
These are absolutely adorable. I just finished making them and I can’t wait to take them to school! Thank you.
Such a fun idea and my kids LOVE sugar wafers. Thanks for sharing on Merry Monday. Choosing this as one of my features this week.
I made these for our church kids and personalized them as a practice run. The next day they were some what soft, do you think it was the icing from the names? Did you store yours overnight? I thought I might make the real ones tonight and just before our dinner tomorrow evening write the kids names on them, do you think they will stay fresh that way. They really looked amazing with their names on them, I know they will be tickled when they see them!!
What a cute idea! They do tend to soften when icing or anything with even the smallest amount of moisture is added because those crispy wafers are so thin. Almond bark or melting wafers don’t have liquid, so they should stay for a day or so. And I agree to add the names at the last minute if possible 🙂
I’ so glad to you for sharing this awesome recipes! Where did you find this? This pencils looks so cute, I will definitely cook it for my younger brother. I hope that you will continue sharing this amazing type of content!