Easy Rolled Muslin Roses
This post may contain affiliate links. See our Privacy Policy for details.
Making fabric flowers is an easy way to use extra cloth you might have in your craft room. This step by step tutorial will teach you to make and easy rolled fabric rose in minutes!
Want to save this recipe?
Enter your email & I’ll send it to your inbox. Plus, get great new recipes from me every week!
Easy Rolled Muslin Roses
You can use any fabric for this craft, I used muslin because that is what I had on hand (and the husband would prefer I use what I have before buying more! 😂)
Fabric Flower Supplies
- Muslin or fabric of your choice
- Felt – I used cream and my favorite mossy green
- Scissors
- Hot glue gun + glue sticks
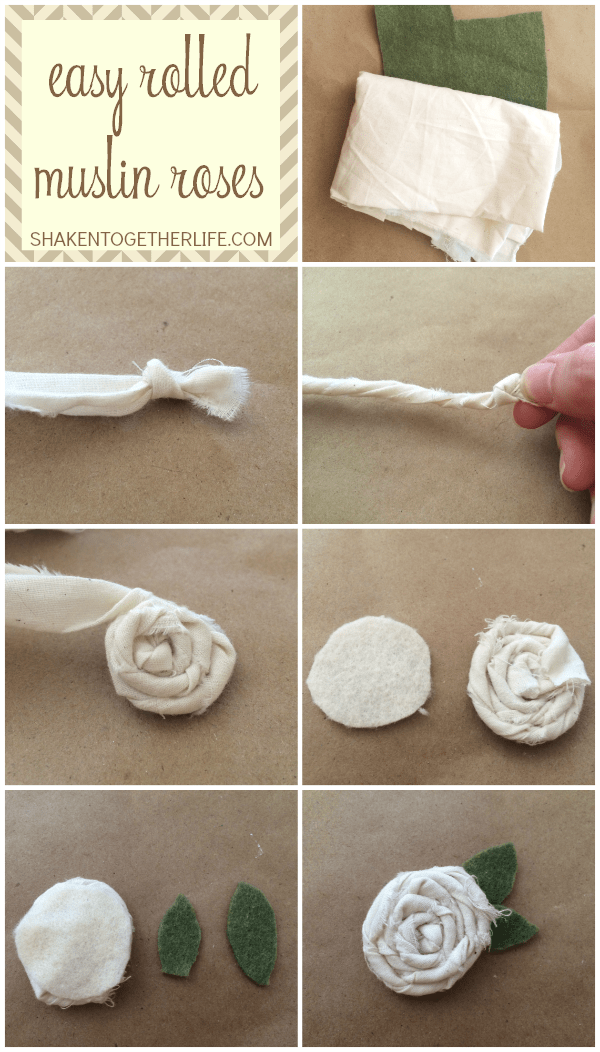
How To Roll Fabric into Flowers
- Gather your muslin and felt scraps.
- Rip thin strips of your muslin and tie a knot close to the end of a muslin strip. That knot makes it really easy to form the center of your rose and wrap the muslin around.
- Twist the muslin strip.
- Begin rolling the twisted muslin strip around the knot and use a hot glue gun to secure the rose as your wrap.
- Once the rose is the desired size, cut the strip and hot glue the end to the back of the rose. Cut a small felt circle and hot glue it to the back of the rose.
- Cut leaves from felt – this mossy green color is my absolute favorite!
- Finally, glue the leaves on the back of the rolled muslin rose … that’s it!
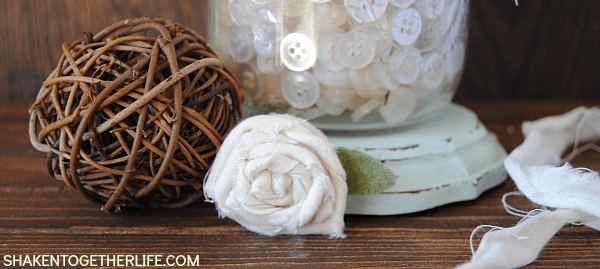
A friend of mine gave me this vintage mason jar filled with creamy white buttons – I don’t know how she could part with it, but it’s a staple in my home décor.
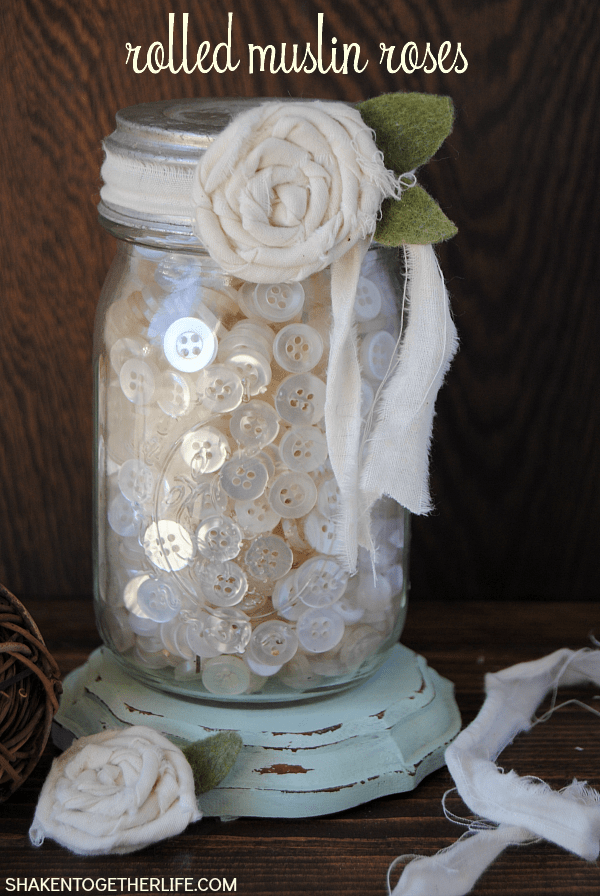
I thought it would be pretty all dolled up with one of these roses but I didn’t want to hot glue it on permanently. So, I tore a thin strip of muslin to make muslin ribbon, tied it around the lid and hot glued a rolled muslin rose onto the muslin ribbon.
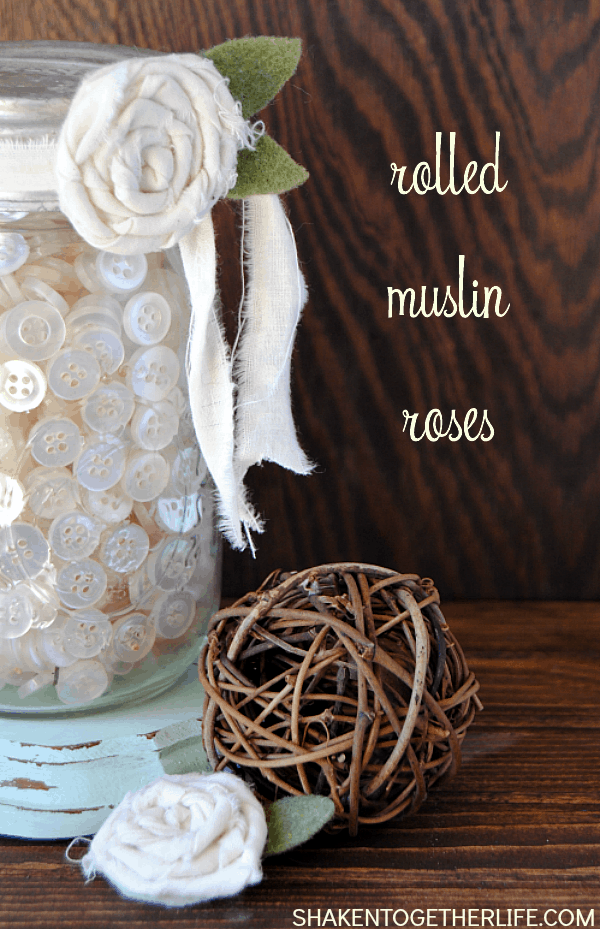
Now, I want to add rolled muslin roses and fabric flowers to everything! Don’t be surprised if you see a few of these pop up !
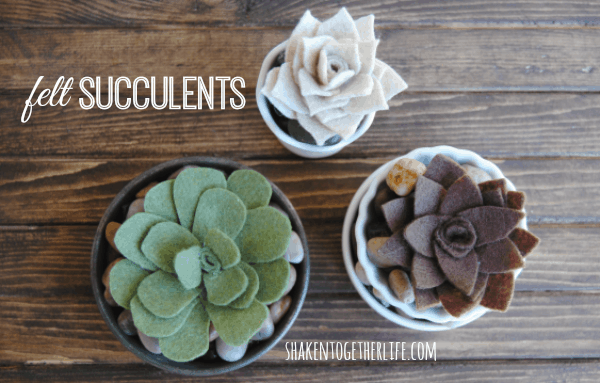
You might also like these easy crafts:
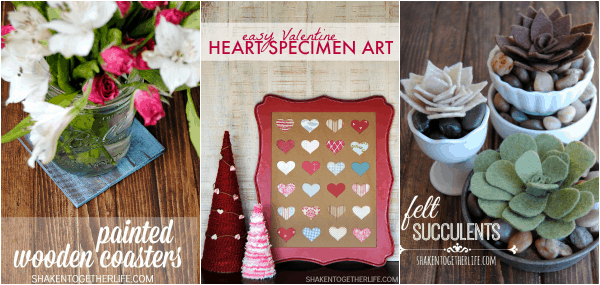
Painted Wooden Coasters :: Valentine Heart Specimen Art :: Felt Succulents
Lots of great stuff to make and admire, very inspirational. You always have great stuff for us Keri.
The felt succulents sure had me fooled, look so real.
Believe it or not I still have 2 geranium plants from last summer hanging in there in house. Have them on bakers rack by western facing window. They just keep growing. Then have couple of other plants, supposed to be ground cover that are doing great in same window. They all need replanting but as long as they’re hanging in there I’ll leave them alone. Have two succulent plants also I keep in east facing window on kitchen window sill, they’re doing very well also.
Your tutorial of how to make rolled roses is great, tried to make some couple years ago but alas not my best accomplishment. I will try to make some again seeing your tutorial. My h ands don’t work too well anymore but I Keep trying.
We’ve had the most mild winter since we moved here in late August 2004. We had one short cold spell around the holidays and one small snowfall that stayed for few days and that’s it. Been nice enuf to have doors open, hang some laundry. Haven’t been able to wear any of my favorite hard winter sweaters at all. I should be grateful seeing how it’s been on east coast. Poor people are drowning in snow.
Our chickens are sure happy tho with it being so warm. They range all over our back yard, they love the piles of pallets to play on like little kids. I see them flying up to tops and then flying back down. They are a hoot to watch and we’re getting 1-4 eggs daily. Nice big blue ones and tan and little white ones from the two bantam hens. They are mean little chickens tho, not my favorites at all. They pick on the polish chicken when they can get away with it. Used to pick on her all the time. Hope all well with you and your family. Enjoy rest of week.
SOOO sweet! I love these and how simple yet adorable they are!! Thanks for sharing at the Kitchen Fun with my 3 sons link party!!! 🙂
They are so cute…I’m going to try and make some. Thank you for the instructions…God Bless You!
You are welcome!
I hope this message finds you safe & well! Thank you so much for this inspiration, it was just the detail I needed to complete a pillow I’m making for my neicelette! I wish I could upload a photo…
I used your technique on a bit of the ribbed waistband from the (moth bitten) cashmere sweater that makes up half the pillow cover. Instead of hot gluing I stitched it with rose pink embroidery thread to both hold it together and highlight the edges of the petals. It’s perfect! Mahalo & Aloha, Jayne
That sounds so lovely, I’m so glad the tutorial was helpful to you!
This is exactly what I was searching for. Thank you.
You’re welcome!